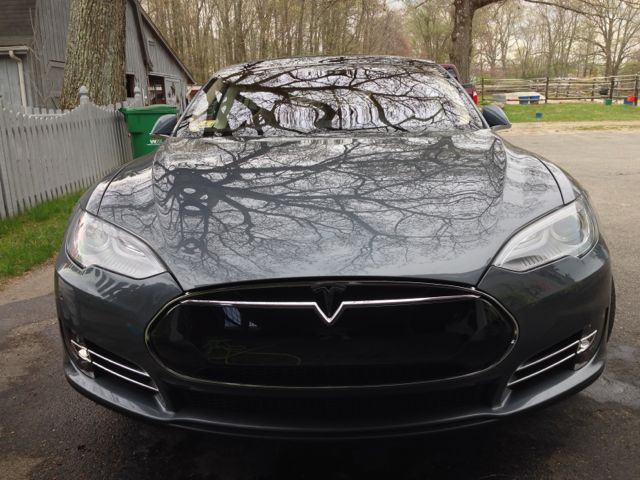
After ordering my Model S I did a bunch of research on clear coat and paint protectors, and decided to go with an Opti-Coat treatment. I had the treatment done 4 days after taking delivery through Jason from Seajay’s Detailing in MA. They did a great job and were first class providers throughout the entire process. My Model S was apparently the 15th Tesla they’ve worked on so they definitely knew what they were doing. Jason gave me instructions on how to best wash the Tesla. Apparently my wash technique, something I’ve been doing most of my life with other cars that I’ve owned, was wrong. Jason’s technique ensured that I was not rubbing grit around the painted surface. The technique does not require waxing since this is no longer needed on cars that have been treated with an Opti-Coat sealant.
Tesla Model S Washing – Shopping List
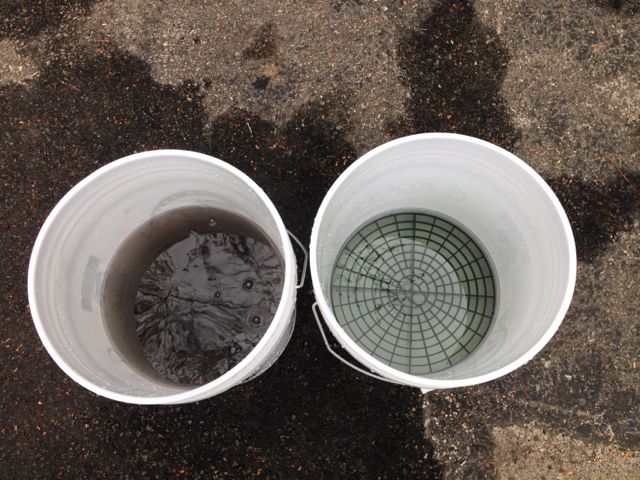
- 2 x 5 gallon bucket with 12″ diameter.
- 2 x GritGuard in red or black
- 1 x Optimum No Rinse Wash and Shine – 32 oz.
- 2 x Griot’s Garage Micro Fiber Wash Mitts
- 1 x Griot’s Garage Micro Fiber Drying Towel
- 4 x Griot’s Garage Micro Fiber Window Cloths
- 2 x Griot’s Garage Micro Fiber Wheel Wand
- 1 x Bottle of Invisible Glass Cleaner
- 1 x AutoSpa Micro Fiber interior duster
- A hose and nozzle with a gentle spray setting
Microfiber cloths can vary greatly in quality, but Seajay’s choice was to use Griot’s Garage products which I’ve heard great things about.
Interior Washing
For the interior I opted to do some basic care. No leather treatment or other fancy stuff this time around. Long term care of the leather is something I’m not ready to tackle just yet. I used the micro fiber interior duster to wipe down the surfaces. It collected the dust from the dashboard with relative ease. I placed a microfiber cloth on the dashboard as a way to catch drips and proceeded to spray down the windshield with glass cleaner.
A quality micro fiber cloth can be used to wipe it down, which will also prevent lint from appearing all over your windshield. Finally I used a shop vac to vacuum everywhere I could, the floors, the seats (crumbs from the kid, hairs from the dog, etc.). I used a big shop vac but my next purchase will be a small but powerful (AC power) hand vacuum that's likely better suited for a car.
2 Bucket Washing Technique
Set up is simple. Put the GritGuards at the bottom of each bucket. You can get away with using just one per rinse bucket, but purists like to have two. For an extra $8 I went with two. One bucket will be your wash bucket, and the other will be the rinse. The wash bucket gets the soap and should remain clean throughout the wash while the rinse bucket will become filthy by the time you finish. I went with a ratio of 2 oz of Optimum No Rinse to 2 gallons of water and loaded the wash bucket with soap and water. The rinse bucket was filled with just clean water.
- Soak mitt in wash bucket
- Wash section with a light touch
- Drop mitt in rinse bucket
- Dry section with the drying cloth making sure you don't touch the unwashed areas and get your drying cloth dirty
- Rub mitt on bottom of rinse bucket on GritGuard
There was no spraying of water throughout this entire process. If the car is extremely dirty then you can try to rinse off the dirt first, but generally it's not needed. Once you're done with the top half of the car, repeat for the bottom half of the car with the other mitt. Wheels and tires can be cleaned with the microfiber tire.