Lifestyle
How to repair your Tesla Model S Door handle (DIY Kit)

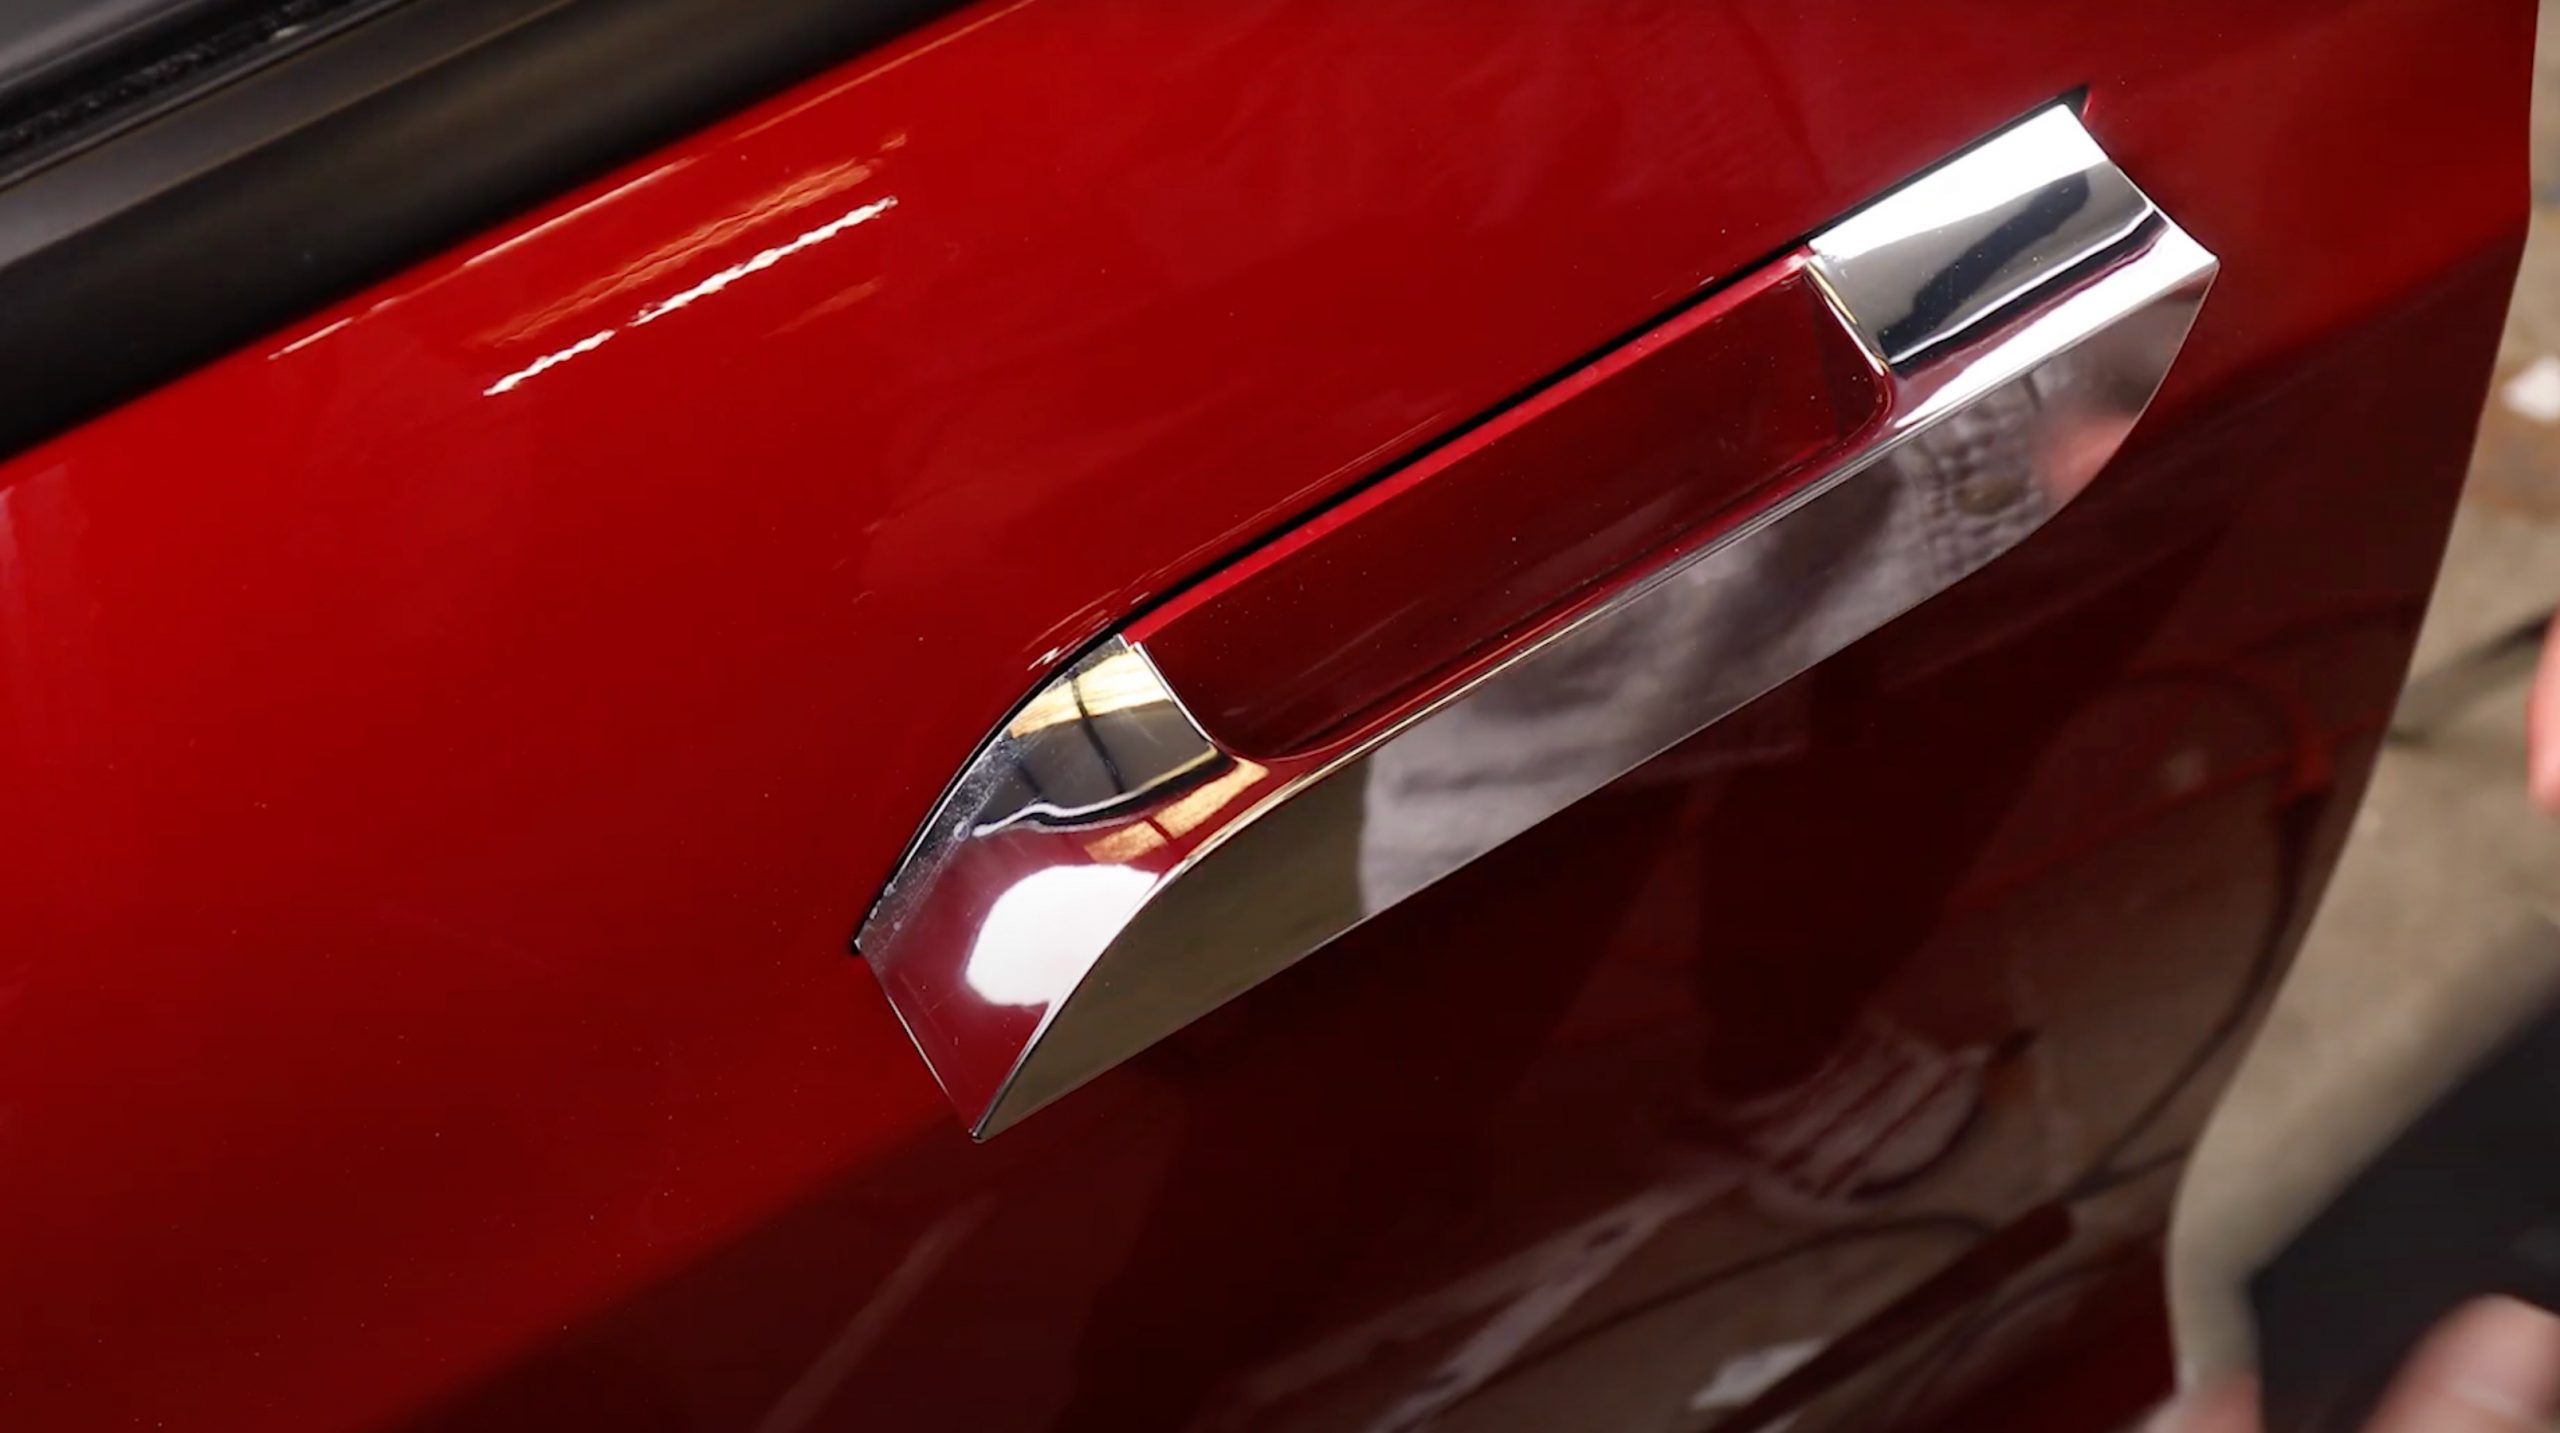
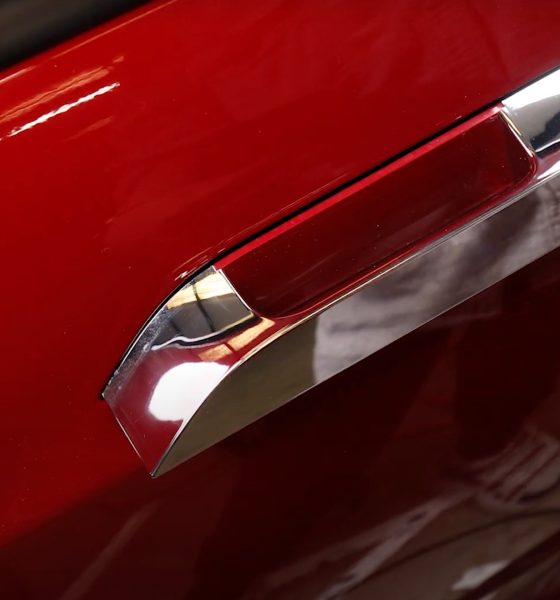
The sudden failure of Tesla Model S self-presenting door handles as a result of component failure is a common and often aggravating experience for many early owners.
The design of the earlier Model S door handle was comprised of cheaper, cast components that often led to breakage, which Tesla finally addressed in the 3rd Gen of Model S door handles.
Under warranty, the answer is simple; call the service center, and schedule an appointment for a replacement, but for many early Model S owners, their warranty has been long gone, and thus stuck with an expensive repair bill that ran upwards of $1000.00 per self-presenting door handle. It also requires a special calibration that only the service center can perform.
The owners of the Electrified Garage have addressed this common issue with a comprehensive DIY Model S Door Handle Rebuild Kit that any handy person can tackle.
The kit includes a stronger machined stainless steel gear, a new e-clip for retaining the pivot gear on the shaft, Original Equipment Panasonic replacement micro-switches, push nuts to hold the vapor barrier securely, and new door panel clips.
Here’s a basic guideline on how to repair your Model S door handle.
To remove the door handle assembly
- With the door opened, pull the hatch into a position as if you were opening the door.
- Pop off the trim piece with a flat tool, like a flathead screwdriver. Do not apply excessive force.
- Use a Torx T30 bit to remove the two screws behind the door hatch.
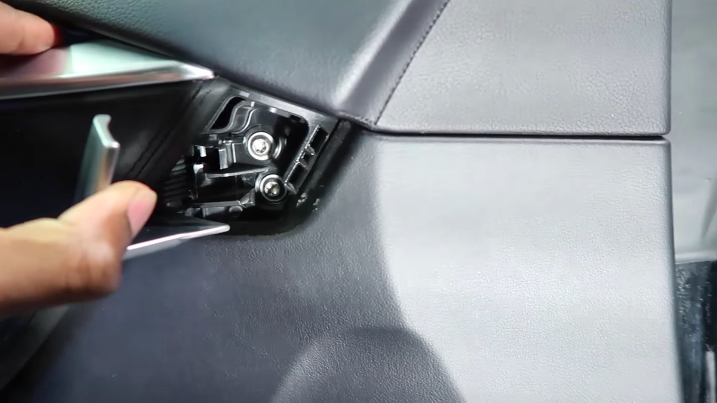
- Use the 9mm socket wrench to remove the single bolt that lies under the door handle.
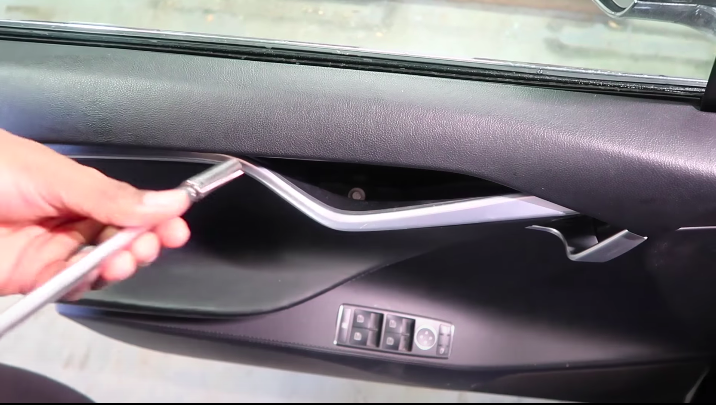
- Use your hands to pop the speaker grille off from the bottom portion of the door.
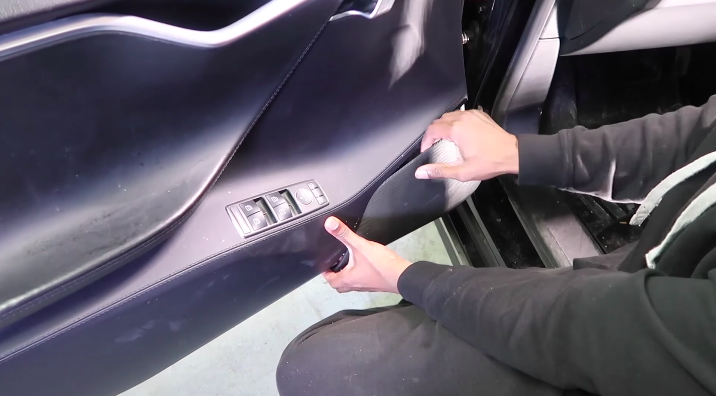
- Then grab the underside above the speaker and the door handle and pull the door covering off firmly.
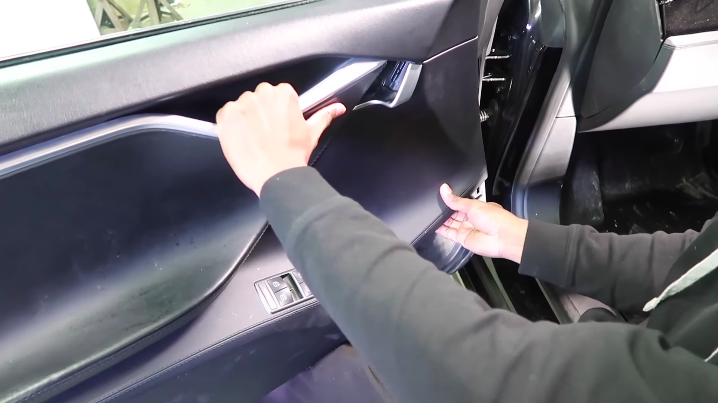
- Remove any wiring that connects the door covering to the door itself. This includes lights, speaker system wires, and door sensor connectors.
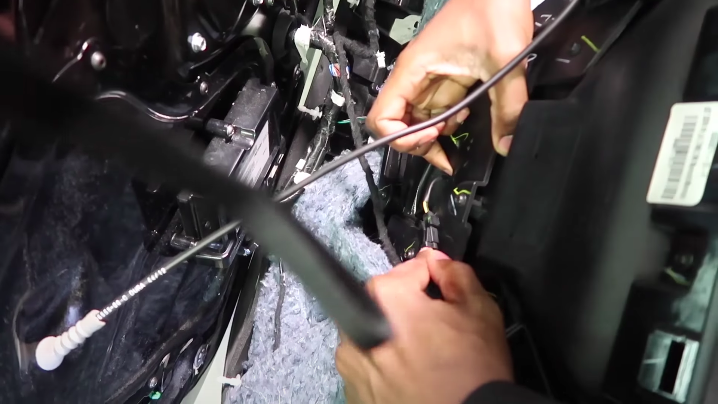
- Use a Torx T20 bit to remove the door cover panel. There will be five screws to remove.
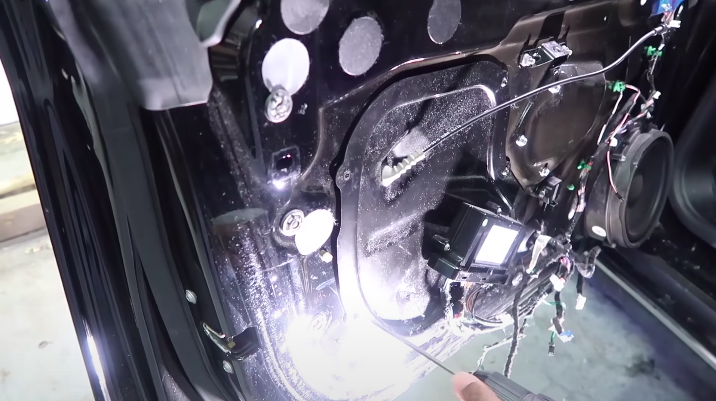
- Use a flathead to push the rubber gasket through the hole on the panel that was most recently removed.
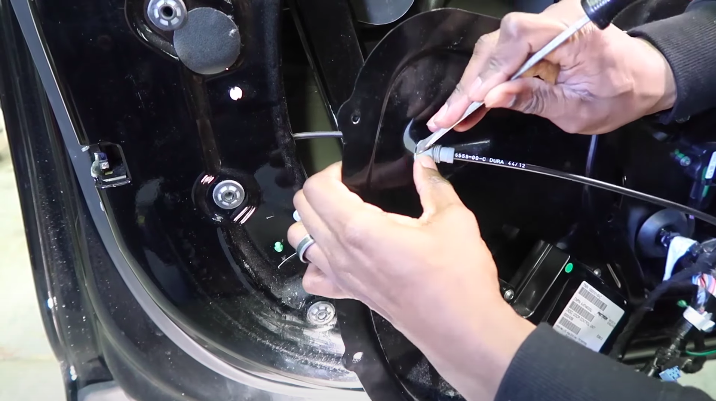
- Use a flathead to push the switch on the side of the door. This will trick the window into thinking the door is closed, which will push the window glass upward. It will give you easier access to screws at the top of the door frame.
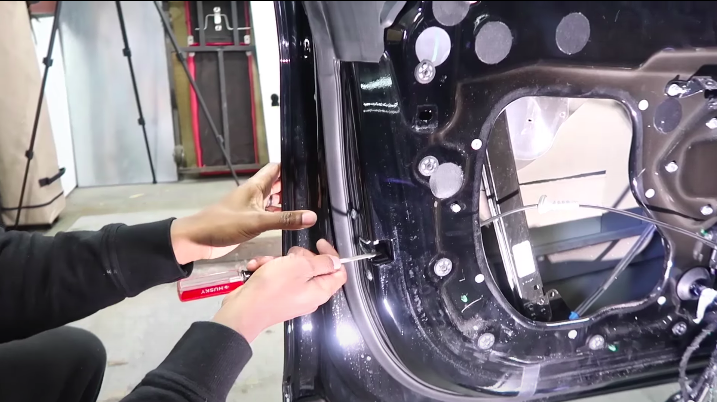
- Use a trim removal device or flat tool to remove the small white piece from the door panel. This secures the door handle harness into place.
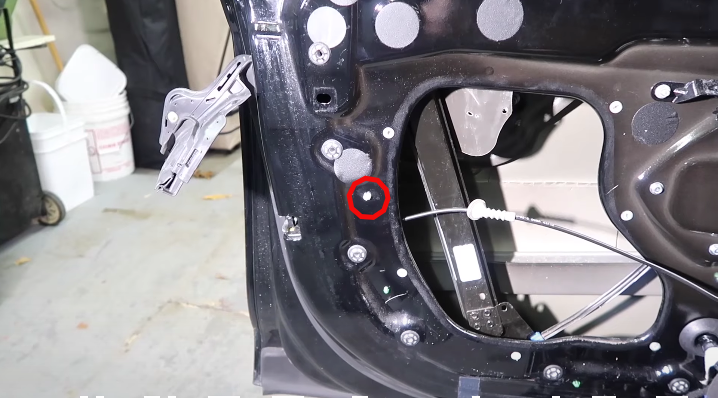
- Unplug the door handle harness.
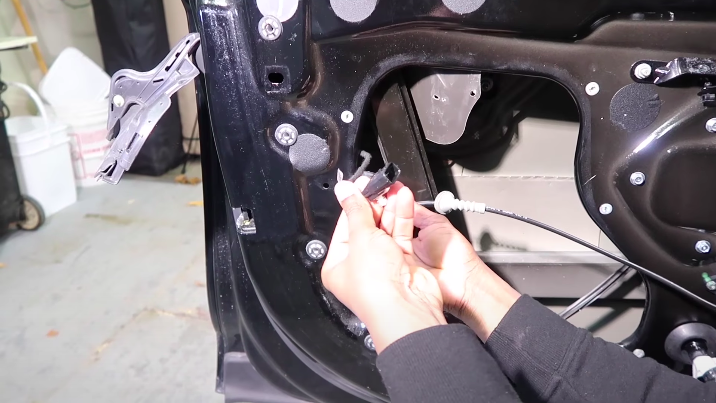
- Remove the two black plastic door covers from the door panel that are shown below. This is done by simply pressing from the back of the pieces with your hand.
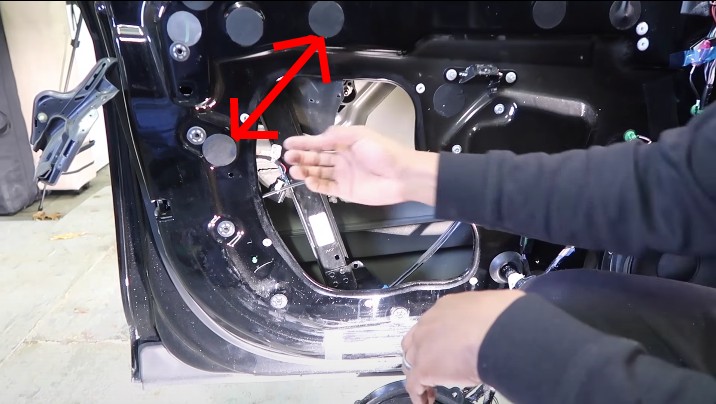
- Use a 10mm socket wrench to remove the two bolts that are in each of these two holes and another that lies within the open space in the center of the door.
-
- Push the door handle on the exterior of the door back into the door assembly. Use your right hand to stabilize the door and your left hand to push the door handle in.
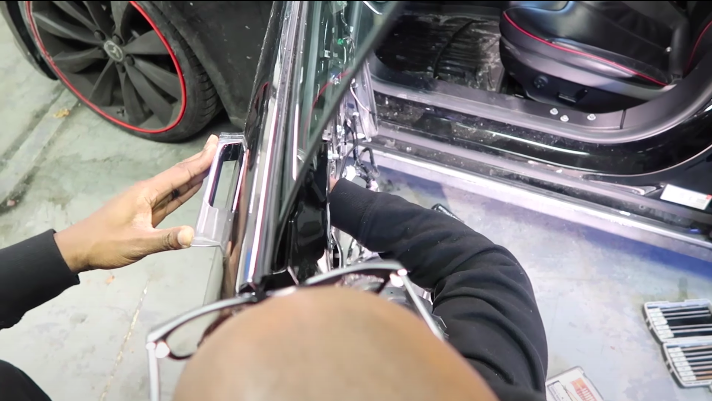
- Reconnect the blue window power wire into the appropriate connection point. This is located at the bottom of the door. Once this is completed, roll the window down and disconnect the connection once again.
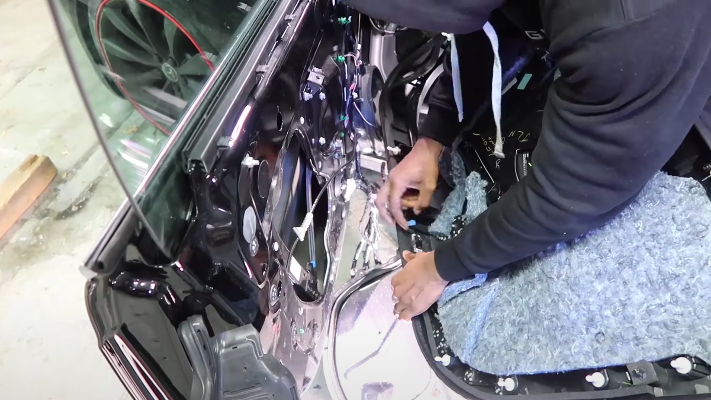
- Grab the top chrome-colored trim piece located at the top of the outside of the door. Gently remove this piece by slightly pulling and working your way down the piece. Do this gradually and try not to remove it in one pull. It could damage the trim or the door itself.
-
- Remove the bolt located under the chrome trim piece. It is easiest to do this with a regular wrench and slowly loosen. You can wrap the wrench in electrical tape to prevent possible scratching of the window glass.
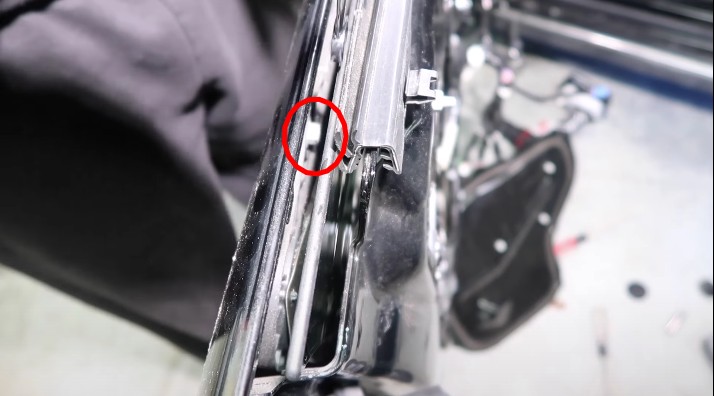
- Reconnect the blue window power connector once again and roll the window all the way up. Once the window is rolled up, disconnect the connector wire once again.
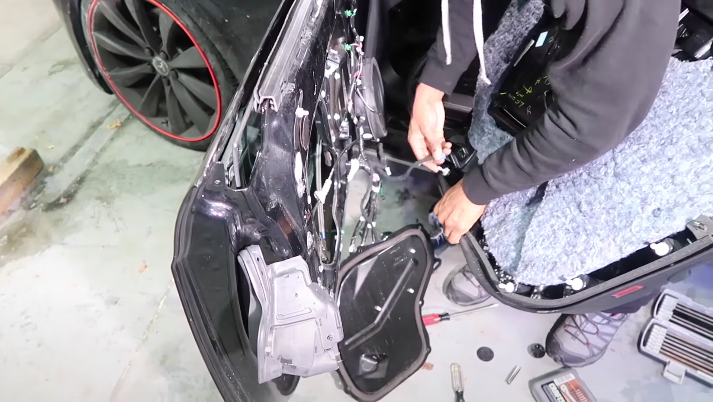
- The door assembly can then be pulled out. Pull in a firm, controlled fashion.
-
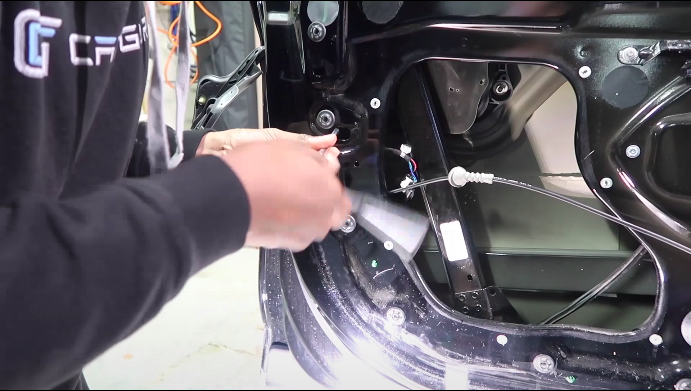
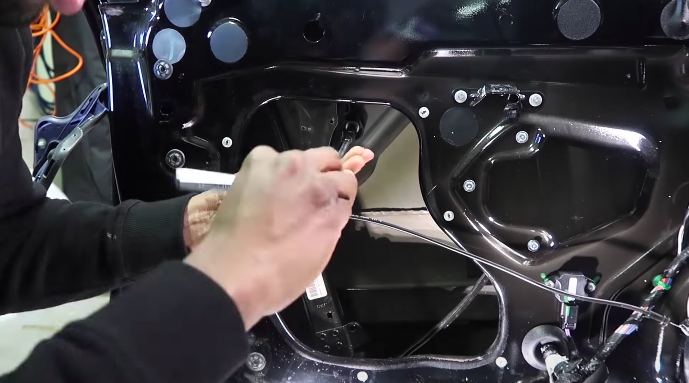
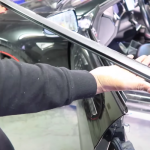
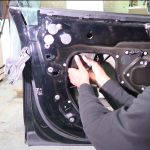
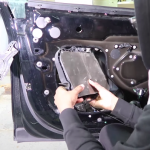
To repair the door assembly:
- Remove the vapor cover from the assembly. This is usually connected with zip ties. Be careful to not cut any wires while removing.
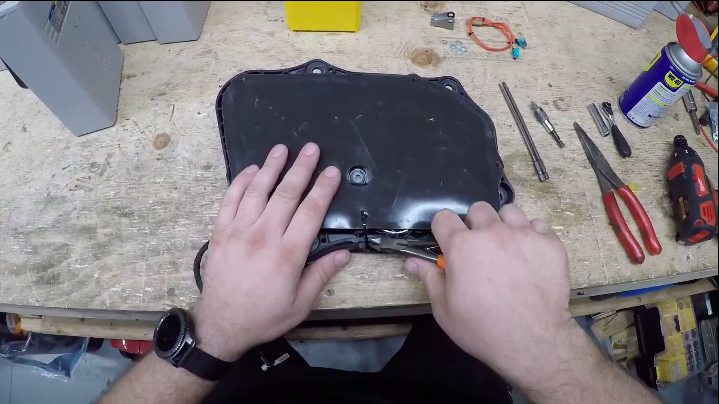
- Remove the five centrally located bolts with the correctly-sized Torx bits.
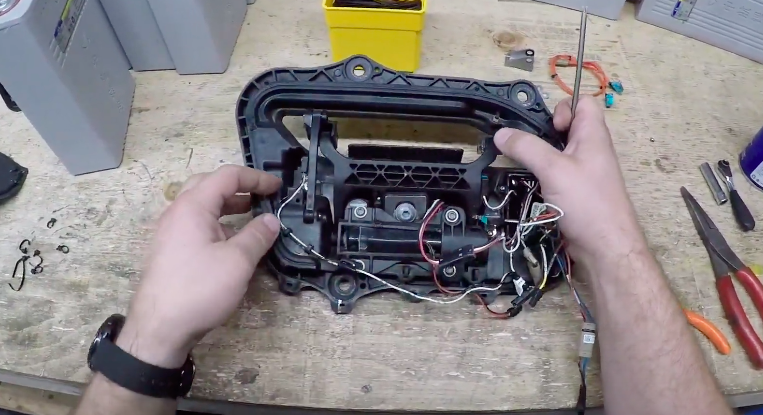
- Remove the motor, which is the small cylindrical black piece held in by these bolts.
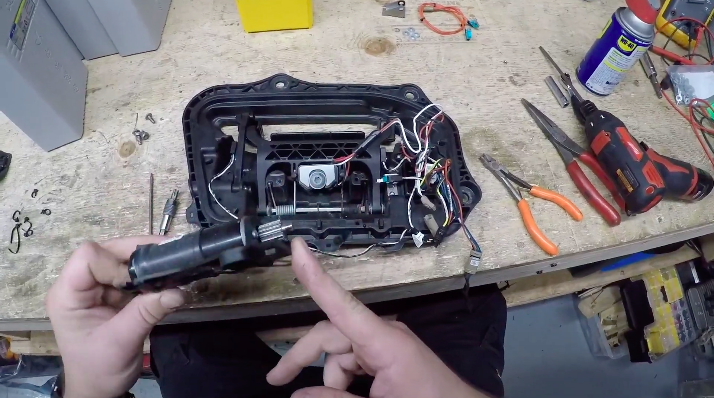
- Remove the two screws that maintain the position of the door handle.
-
- Remove the pin that is housed on the rear side of the assembly. This can be lubricated with WD-40 and pushed out with a pair of needlenose pliers.
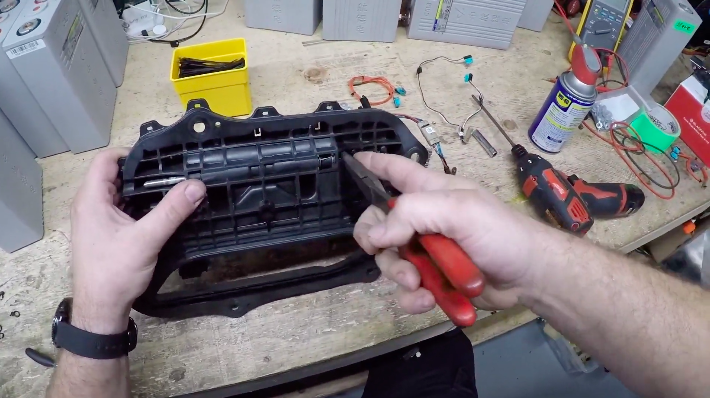
- Install the new gear into the door assembly by pressing down on the door handle.
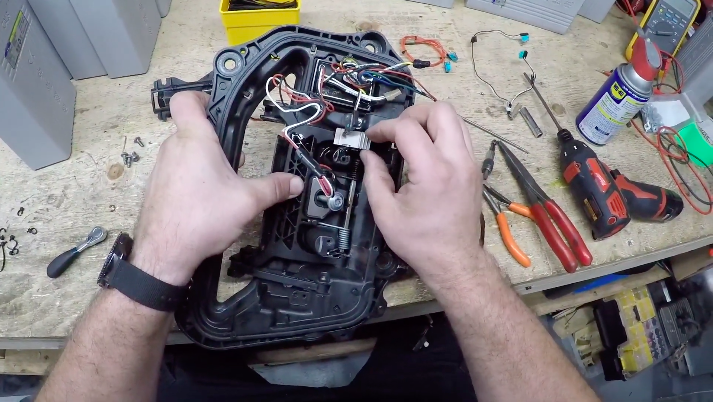
- Slide the pin back through and make sure the center notch on the pin is aligned with the middle slot. Install a new metal clip from the kit in the center notch.
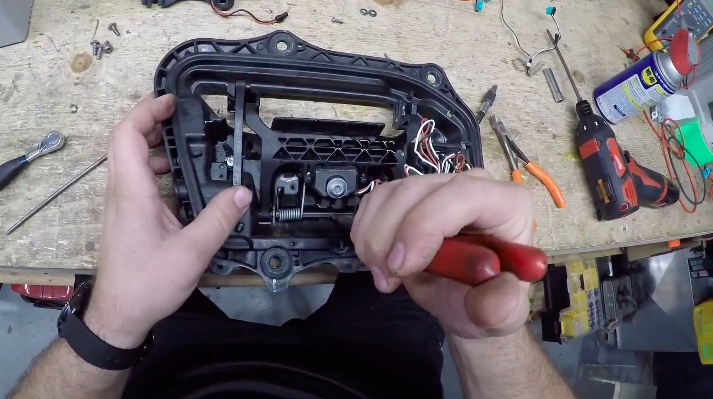
- Reinstall the screws that were removed in Step 4.
-
- Resecure the main power wire for the door handle to the bottom of the assembly with zip ties.
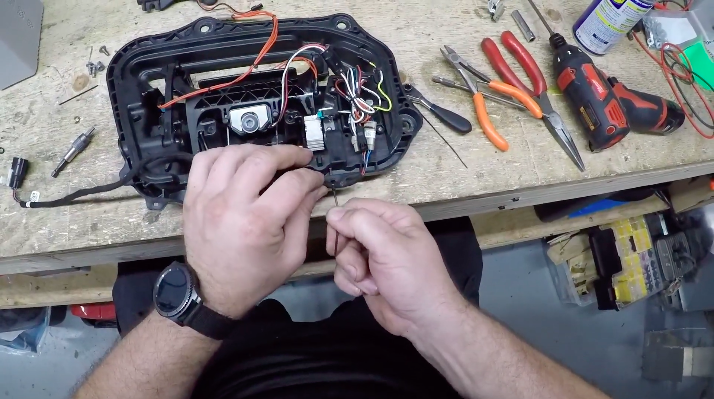
- Reinstall the motor from Step 3 and resecure it with the appropriate screws.
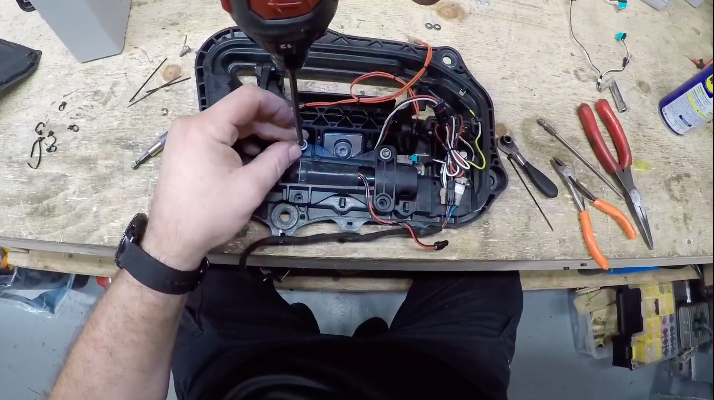
- Resecure all wires with zip ties and reapply the vapor cover.
-
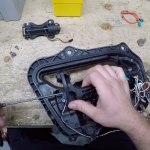
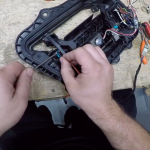
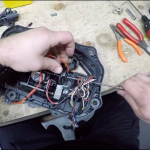
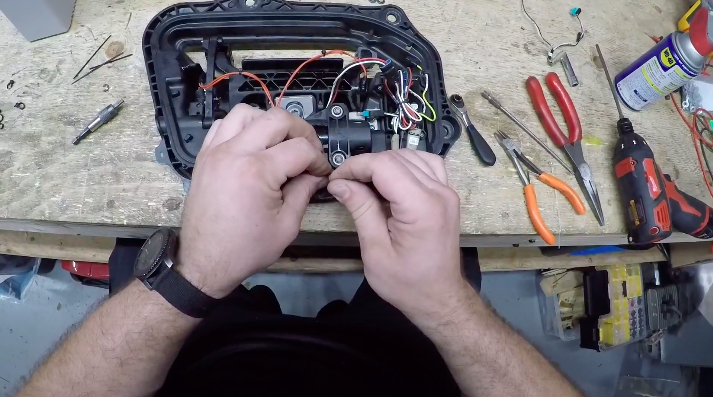
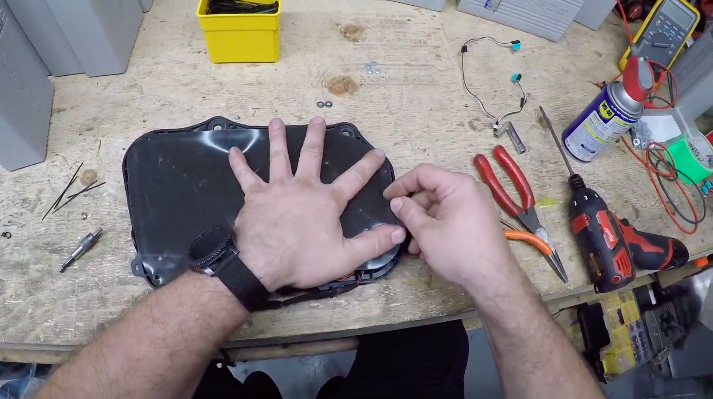
Tesla Model S Door Handle DIY Repair Kit


Elon Musk
Tesla primes Cybercabs for 4K streaming and high bandwidth gaming with Starlink integration
Tesla is now shipping Cybercabs from Giga Texas with Starlink hardware built in as standard.

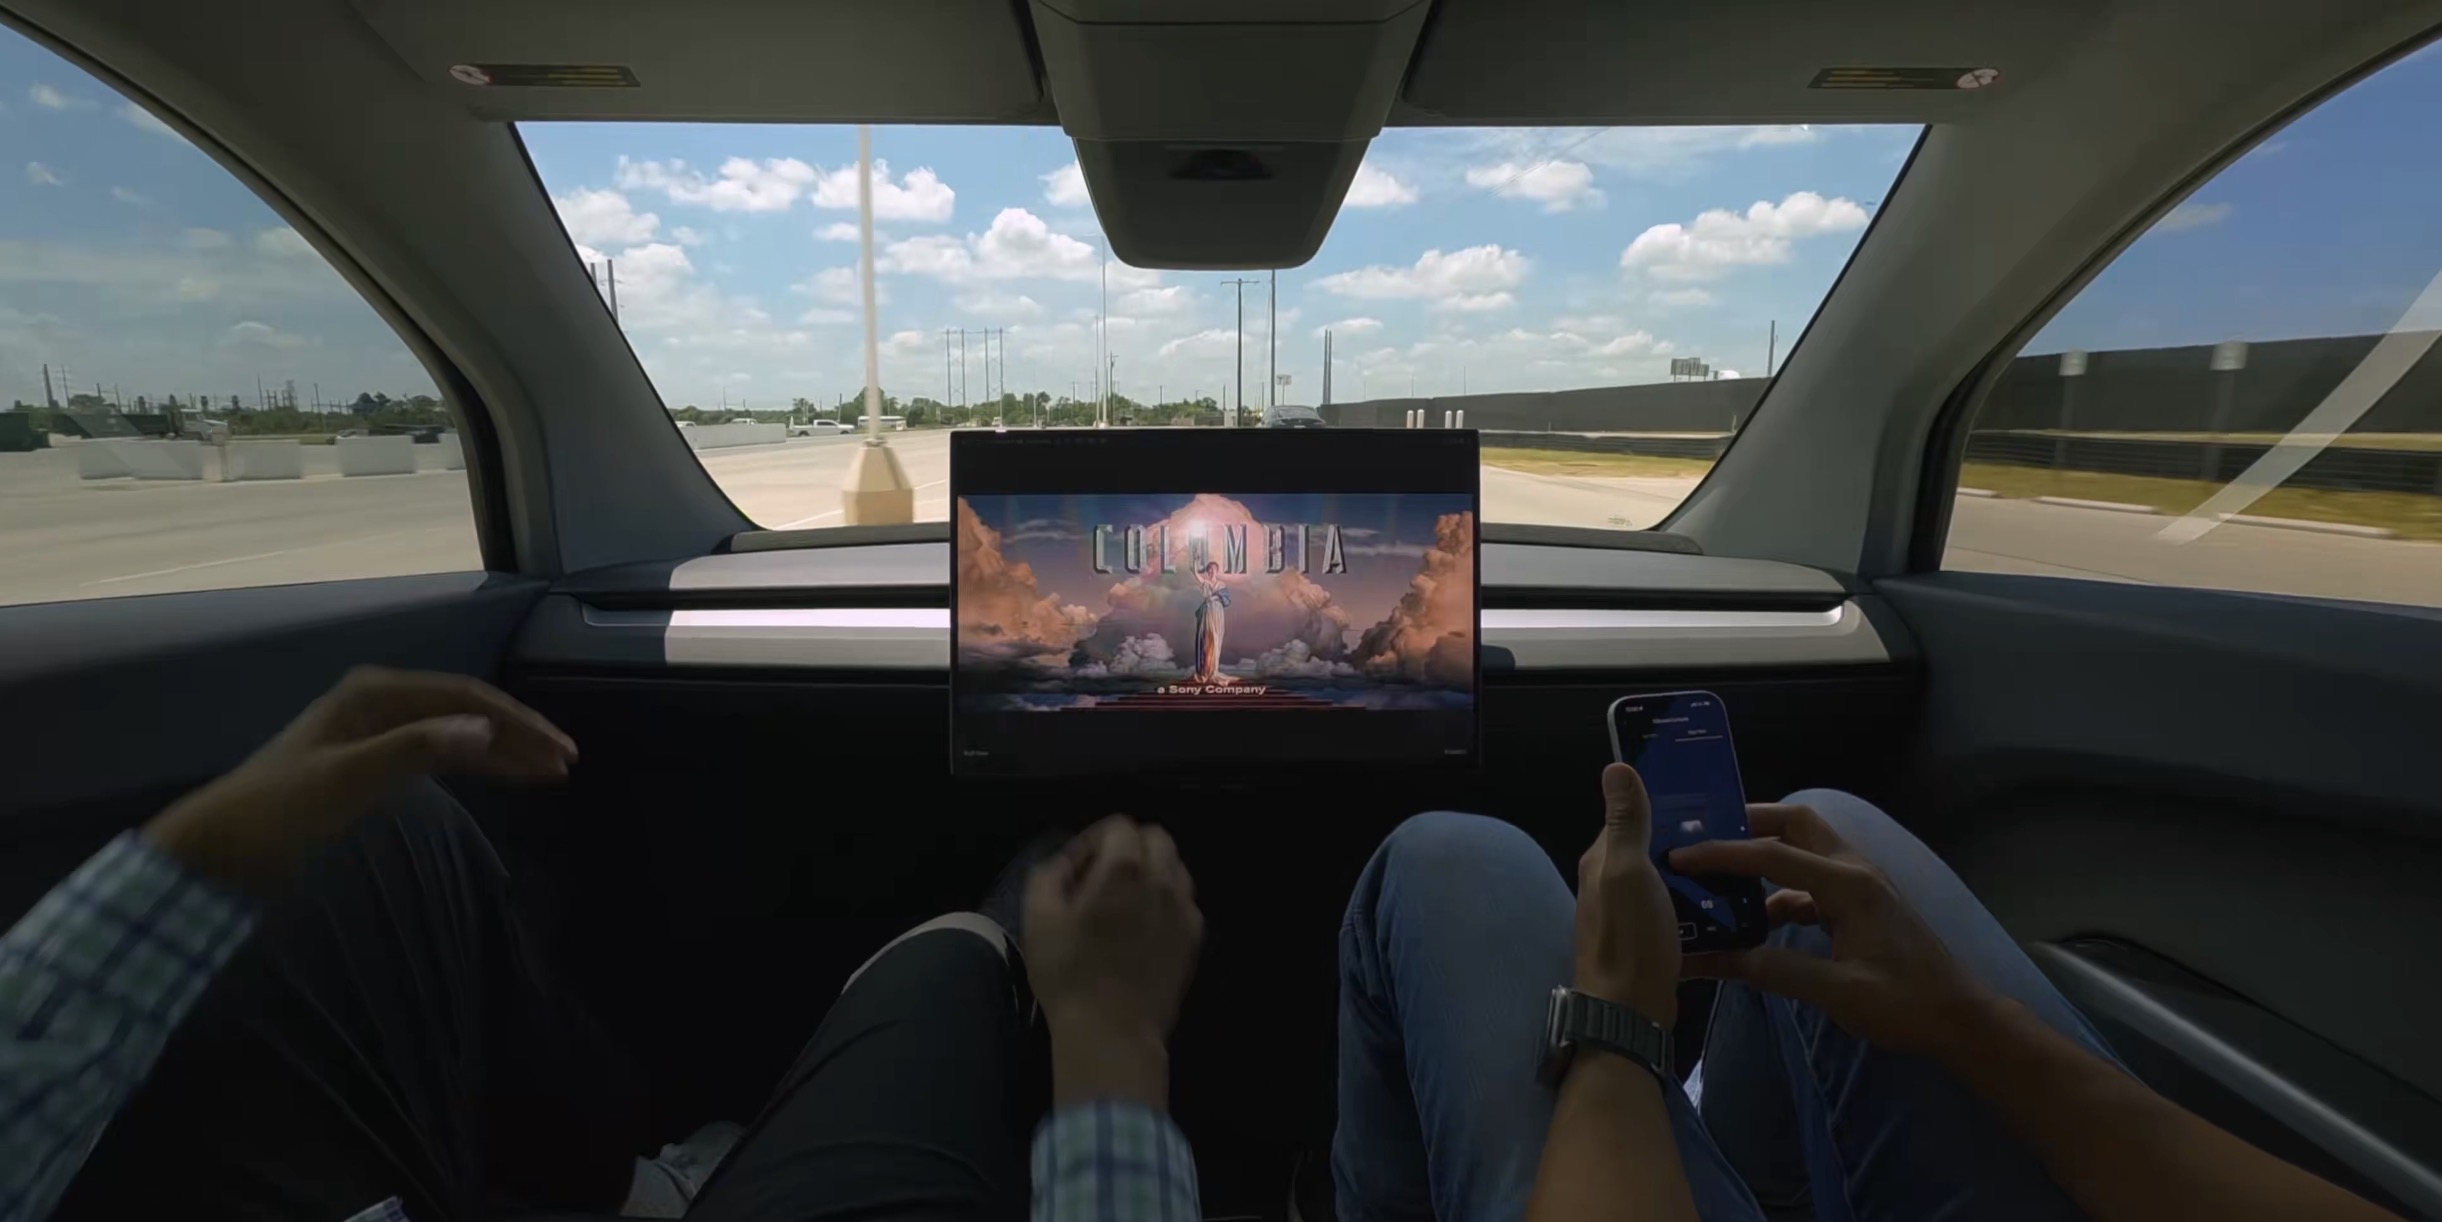
Tesla’s Cybercabs are now leaving Gigafactory Texas with Starlink hardware on the rear hatch in significant numbers, according to drone footage captured Tuesday by longtime Austin drone observer Joe Tegtmeyer. Production at the factory ramped back up after the Labor Day weekend, and his flyover of the outbound lot showed rows of gold Cybercabs alongside Model Y Long Wheelbase units, many carrying the satellite module for the first time as standard equipment rather than a one off retrofit.
Giga Texas today is busy with production coming back up following the long weekend. Of interest today in the outbound lot is the appearance of hundreds of Mode; YL’s and many more Cybercabs and for the 1st time equipped with the Starlink module one the hatch in big numbers.
At… pic.twitter.com/G9yl6s51m4
— Joe Tegtmeyer 🚀 🤠🛸😎 (@JoeTegtmeyer) September 8, 2026
Tesla first showed Starlink built into an actual Cybercab on August 10, when the Robotaxi account posted images of a single gold unit with the antenna integrated into the roofline above the taillights and called it the first Cybercab with Starlink integration. That followed a July reveal where Tesla and Starlink jointly posted a cutaway diagram of the antenna placement without a working vehicle to back it up. Ashok Elluswamy, Tesla’s VP of AI software, said at the time that the connection isn’t required for the car to drive itself. It exists mainly for navigation, customer service and keeping tabs on the fleet.
Musk has made a different case in public. During Tesla’s Q2 earnings call, he said the company can’t afford robotaxis stranded in what he called “Bermuda Triangles of lack of cellular connectivity,” and he separately claimed on X that Starlink will eventually reach every Tesla built, calling it the only way to deliver high bandwidth to billions of vehicles. He has also pitched the antenna as an entertainment upgrade, telling riders they would be able to stream 4K video or play games during a trip.
The rollout has moved fast since. Robotaxi service opened to the public in Austin on September 3, and Cybercabs had already been spotted with Starlink hardware in Houston and near Miami International Airport in the weeks before Tuesday’s factory footage showed the module shipping at volume rather than on scattered test units. Whether the satellite link earns its keep is still an open question. Tesla’s unsupervised service currently runs in dense metro geofences in Texas and Florida, markets where cellular coverage is already strong, which is not where the rural dead zones Musk describes tend to show up.
Lifestyle
Tesla Cybertruck targets job site crews with new Tailgate Utility Track and Bed Gear Box accessory
Tesla launched a $350 tailgate track and a $985 lockable Bed Gear Box for Cybertruck.
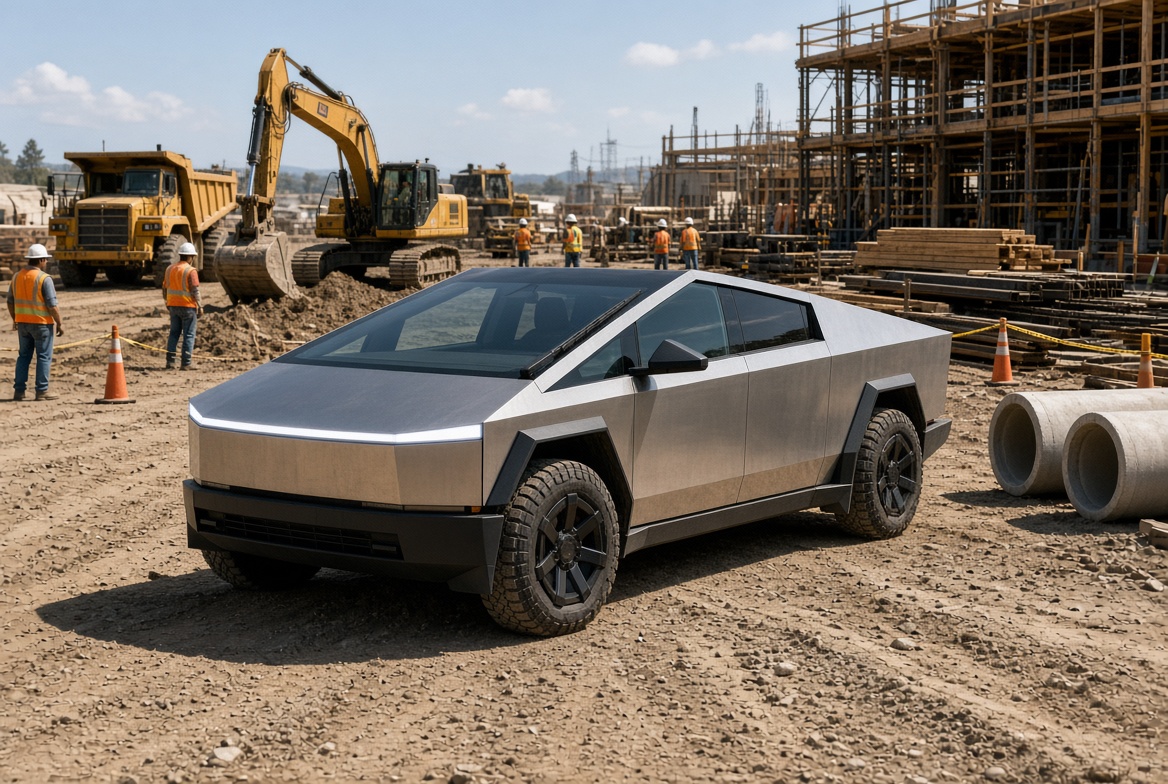
Tesla’s Cybertruck team added two more items to the Tesla Shop, targeting job site crews and owners who use the truck bed for actual work rather than just showing it off. The official Cybertruck X account posted the Tailgate Utility Track and the Bed Gear Box within minutes of each other, part of a five item batch that also included a reflective jacket, a spray paint hat and an updated reflective tee.
The Tailgate Utility Track runs $350 and turns the folded down tailgate into another mounting surface. It’s a single aluminum track with a T-slot for sliding accessories and two L-track attachment points, plus two load stops included in the box. The pitch is straightforward: strap down oversized cargo, like lumber or a cooler, that hangs off the back of the bed without it sliding out mid-drive. It bolts onto the existing tailgate and works on every Cybertruck trim.
Tailgate Utility Trackhttps://t.co/PCAYXlFBvS pic.twitter.com/sCV2NVxf1W
— Cybertruck (@cybertruck) September 3, 2026
The Bed Gear Box costs $985 and is a different kind of accessory. It’s a lockable aluminum storage box, 55.78 inches long, 19.8 inches wide and 7.79 inches tall, that mounts to the bed’s L-track rails and comes with two internal bins for smaller items. According to Tesla, at just over 57 pounds empty, it’s meant to stay in place rather than come in and out with each trip, giving owners a factory-fit alternative to loose totes for tools, recovery gear or emergency supplies. Tesla’s listing notes that Long Range and Dual Motor AWD Cybertrucks need the L-Tracks accessory installed separately before the Gear Box will mount, since L-tracks come standard only on certain configurations.
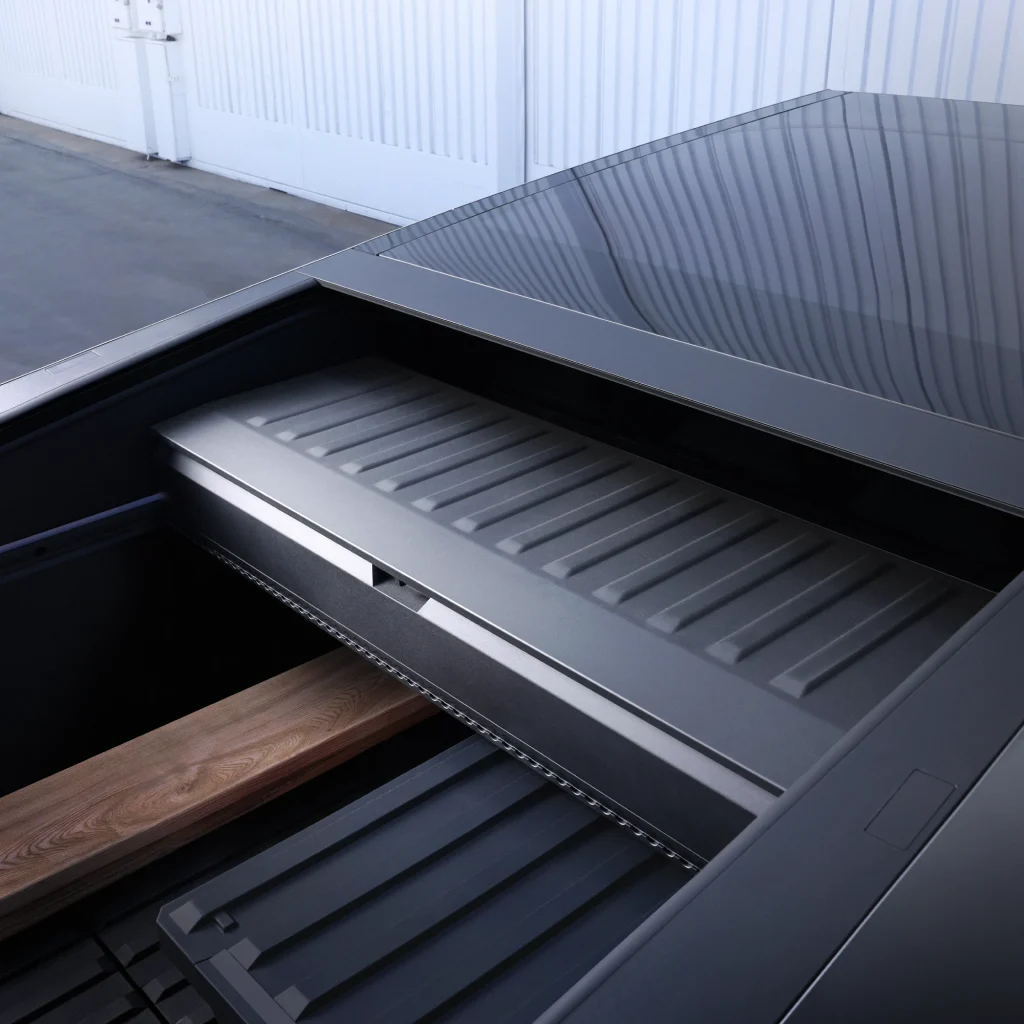
Tesla Cybertruck bed gear box accessory
Both accessories lean on the idea Tesla has been building toward since Elon Musk first described the Cybertruck’s third-party attachment strategy at the 2023 shareholder meeting, when he said the truck would ship with mounting points so outside companies, and Tesla itself, could keep adding gear without redesigning the bed. That’s the same L-track backbone underneath the tailgate shield and jumpseats Tesla launched last year, and the off-road armor package that arrived through the same X account in 2025.
Owners looking to round out the rest of the L-track ecosystem, cargo dividers, MOLLE panels, bed racks and similar gear, can find a wider range of options through our Cybertruck accessories collection.
Elon Musk
Elon Musk says he knows how to save Earth for a billion years
Elon Musk says sentient AI satellites launched from the Moon could keep Earth livable forever.
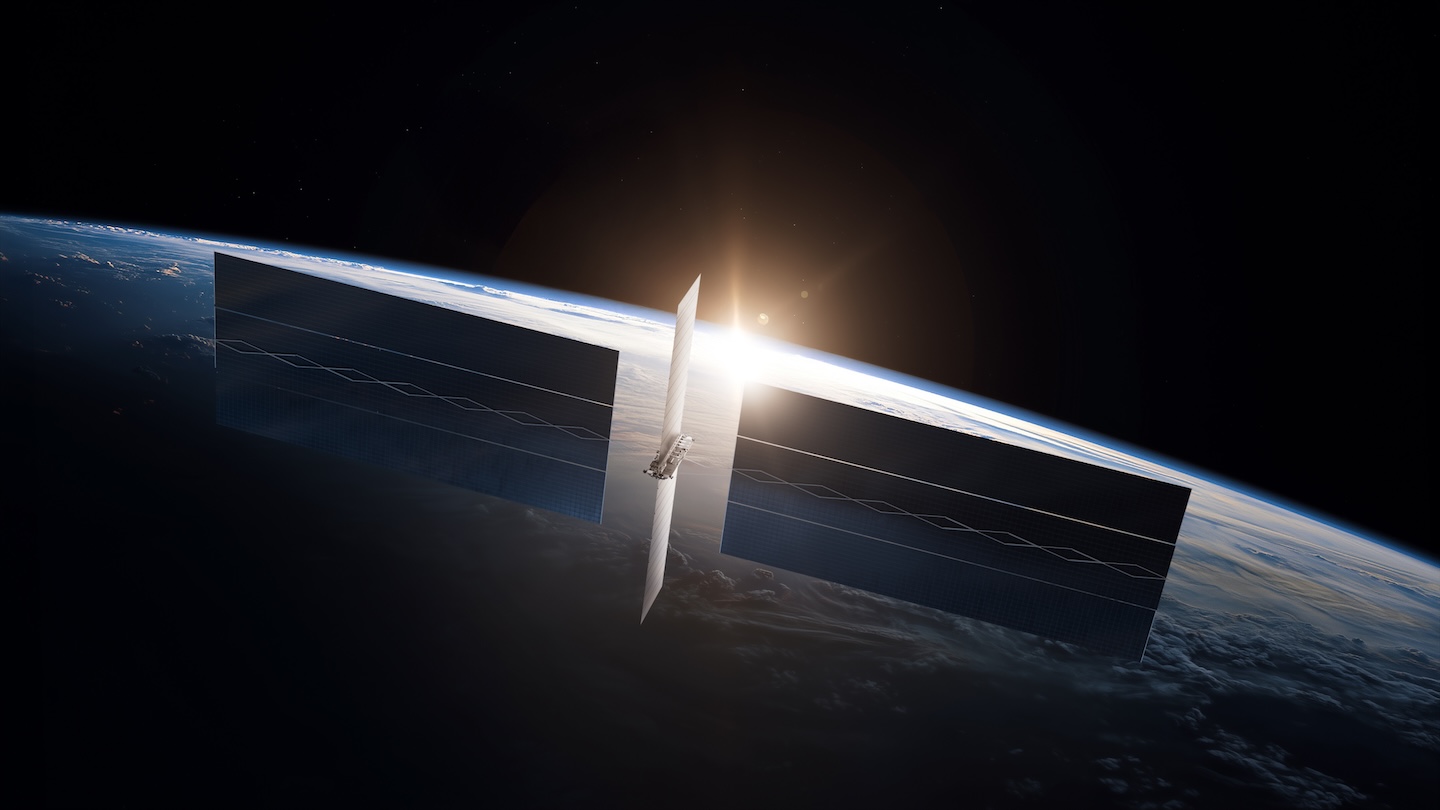
Elon Musk spent part of his weekend describing a plan to keep the planet livable for roughly a billion years, and it starts with satellites that can think for themselves.
In a post on X, Musk argued that swapping fossil fuels for solar and wind power will not be enough to protect humanity from what he called extremely severe extinction events, the kind that occur roughly every 100 million years. His fix is what he called sentient satellites, or solar-powered satellites, controlled by AI, that would sit in a fixed spot between Earth and the Sun after being launched off the Moon using a giant electromagnetic catapult instead of rockets.
The satellites’ onboard AI would make continuous, small adjustments rather than waiting on human instructions. The mass driver is Musk’s proposed way of getting the raw material there cheaply by using an electromagnetic launch track built on the Moon, where lower gravity and no atmosphere make it far easier to fling cargo into space than it is from Earth.
But we do need to act much faster than that if people still want to live where the beach is today. We have about 50 years or so to take action, which should be more than enough time for the space satellites to solve any heating problems. https://t.co/xhrVQALwQw
— Elon Musk (@elonmusk) August 30, 2026
Musk shared a Grok generated estimate suggesting roughly 5 percent of Florida’s land, or about 1.68 million acres, could face regular flooding by 2070 under a high sea level rise scenario, and said humanity has about 50 years to act before coastal living looks very different than it does today.
This is not the first time Musk has floated the idea. He raised a similar concept in November, describing a solar powered AI satellite constellation that could make tiny adjustments to incoming sunlight to fine tune Earth’s temperature. Musk has also tied planetary risk to his broader vision at SpaceX, where his compensation package is explicitly linked to establishing a self-sustaining Mars colony, one he has described as an insurance policy against the kind of extinction event he referenced this weekend, and where he has said humans could set foot within five to seven years.

This tiny Tesla Cybertruck adjustment has big advantages

Tesla is rolling out a new FSD version with a massive safety addition


